
Introduction
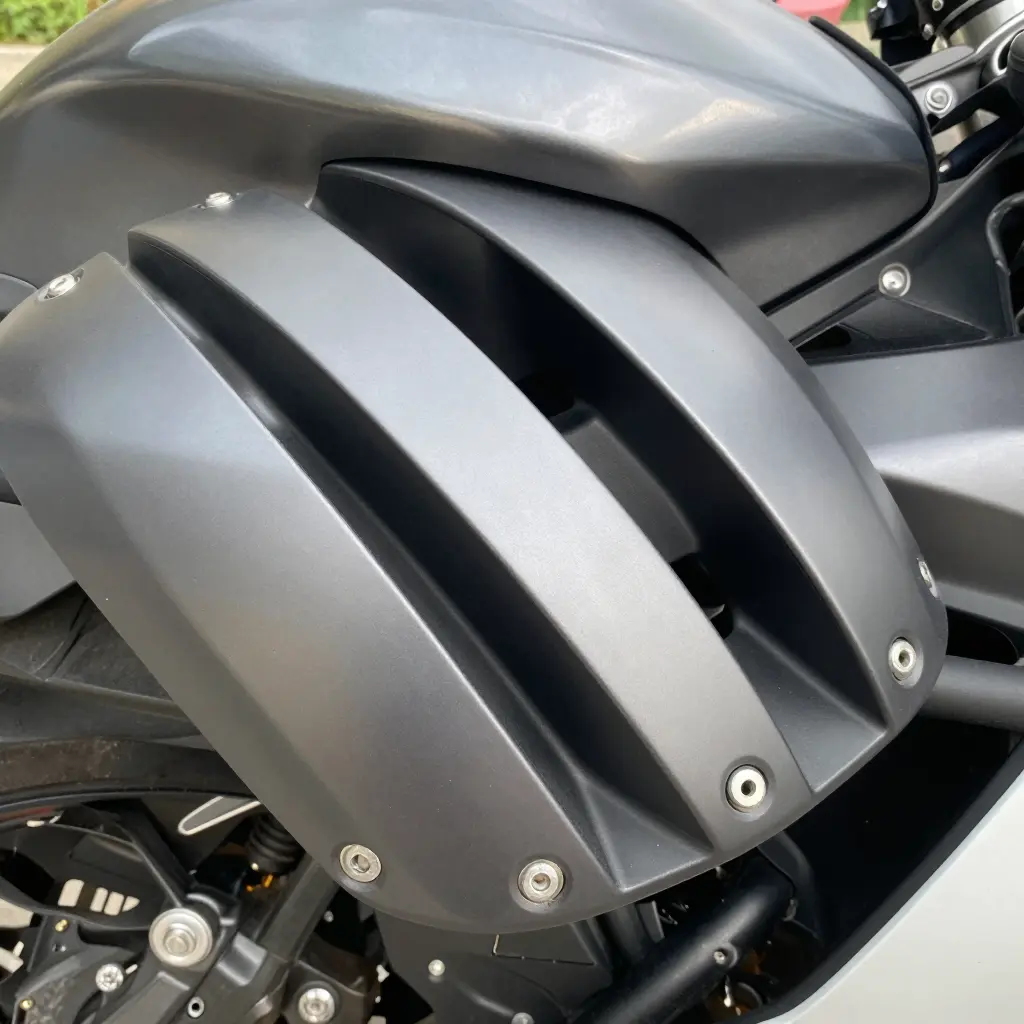
An aftermarket fairing set can sharpen a bike’s look and protection, or leave you with misaligned holes and uneven seams. The difference usually comes down to one step before you order: checking aftermarket fairing fitment. Confirming bolt hole alignment and panel gaps ahead of time saves money and avoids the installation problems that come from parts that never sit right.
Bolt hole alignment is how closely the mounting points on a new fairing match the factory holes on your frame and subframe. Panel gaps are the spacing between adjacent panels and between the fairing and fixed parts such as the fuel tank and seat. Both are measurable, and both can be checked before you pay.
The habit carries over to four-wheeled projects as well, where the same questions decide whether aftermarket accessories that must fit precisely bolt on cleanly.
What Aftermarket Fairing Fitment Really Means
Fitment describes how closely a replacement or custom fairing set matches the shape, mounting geometry, and finish of your motorcycle’s original bodywork. A fairing can look perfect in a product photo and still refuse to sit correctly on the bike. Fitment is what separates a factory-quality panel from one that rattles, warps, or has to be forced into place.
It comes down to two measurable things: bolt hole alignment and panel gaps. Get both right and the fairing looks and behaves as if it belongs there. Get either wrong and you inherit vibration, stress cracks, and visible mismatches.
Bolt Hole Alignment
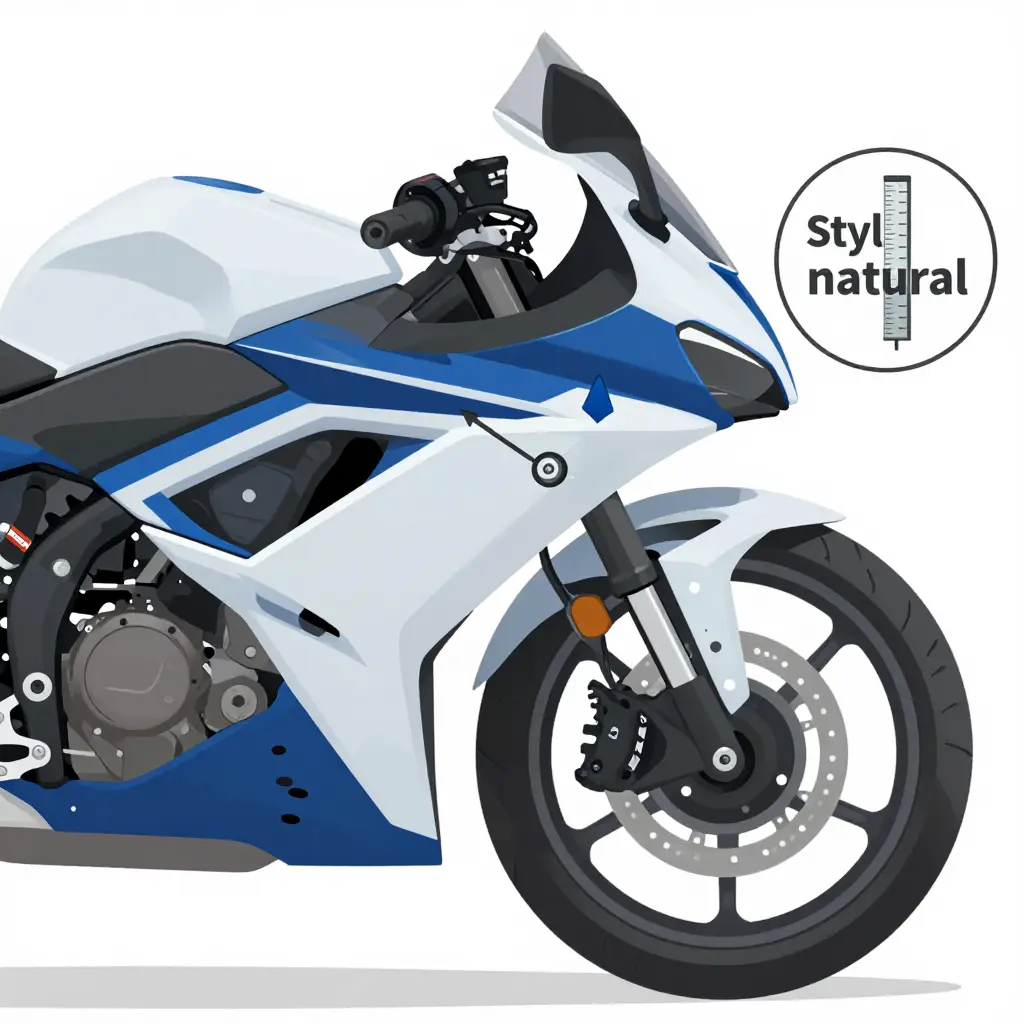
Bolt hole alignment is how closely the fairing’s mounting holes line up with the frame and bracket locations. Every fairing attaches through specific points: frame tabs, stays, and subframe brackets. When alignment is correct, each bolt slides in by hand and the panel rests flush without stressing the plastic.
Misalignment shows up quickly. Holes sit a few millimeters off-center, bolts thread in only at an angle, or you have to pry and flex the panel to force it. Forcing the install strains both the fairing and the mounting points, which is how cracks start.
Panel Gaps
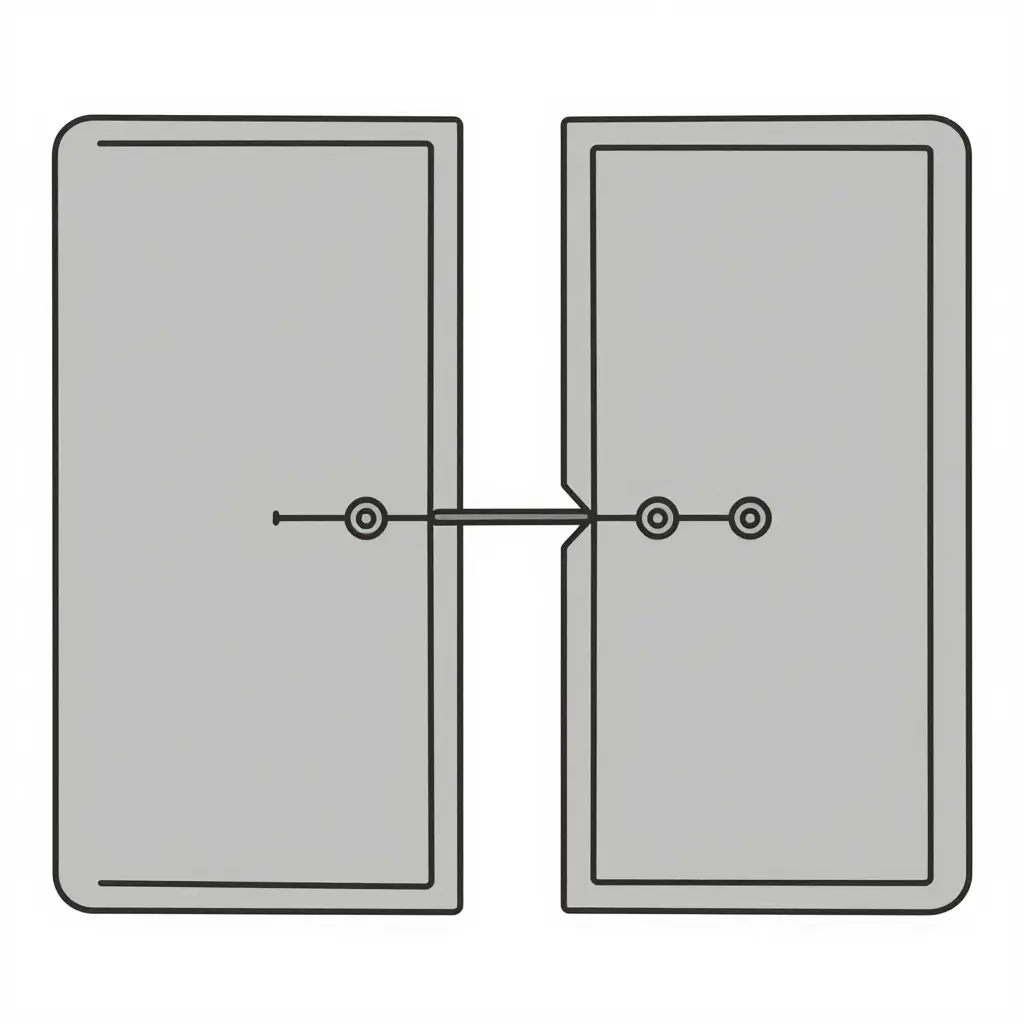
Panel gaps are the spacing between adjoining fairing panels and between the fairing and fixed parts like the fuel tank, seat, and headlight cowl. On a well-made set those gaps stay even along the whole seam on both sides of the bike.
Uneven gaps are among the easiest problems to catch before ordering. Ask for photos from several angles, or a short test-fit clip. Symmetry is the tell: if the left-side gap matches the right, the panels were likely molded accurately.
Fitment Tolerances Vary
Fitment tolerances vary by supplier and model. A budget set for one bike may need minor trimming, while a premium set for another can bolt on with almost no adjustment. Before buying, confirm the supplier’s stated tolerance and return policy, and treat any aftermarket accessory that claims to fit your vehicle with the same skepticism you apply to fairings.
| Issue | Likely Cause | Inspection Method | Recommended Fix |
|---|---|---|---|
| Bolt hole misalignment | Mold drift or heat distortion during production | Dry-fit the panel and thread every bolt by hand, never force it | Ream holes slightly with a round file or switch to rubber well nuts |
| Uneven panel gaps | Inconsistent trim lines along the mold seam | Measure the gap with a feeler gauge at three or more points per side | Loosen all fasteners, realign the panels, shim with washers, then retighten |
| Warped panels | Thin ABS pulled off the mold while still hot | Sight down the edge against a straightedge or a flat bench | Warm gently with a heat gun and reshape, or return it for a flat replacement |
| Missing mounting tabs | Incomplete molding or tabs snapped in transit | Count the tabs against an OEM reference photo before installing | Fabricate a small bracket or bond on an adhesive mounting clip |
| Oversized screw holes | Drill slip or a worn guide during assembly | Test-fit the screws and check for wobble inside each hole | Step up to a larger screw or add a plastic repair washer |
| Paint overspray on panel edges | Masking gaps left during the spray process | Wipe the edge with a solvent cloth and inspect for residue | Wet-sand with 1500 grit and polish, or request a repaint |
Bolt Hole Alignment: The Primary Fitment Checkpoint
Test bolt hole alignment before you judge color match, gloss, or packaging. It is the most revealing checkpoint, because every panel, bracket, and fastener depends on matching the motorcycle’s original geometry. If the holes drift even a few millimeters, the whole assembly fights itself.
How misaligned holes cause damage
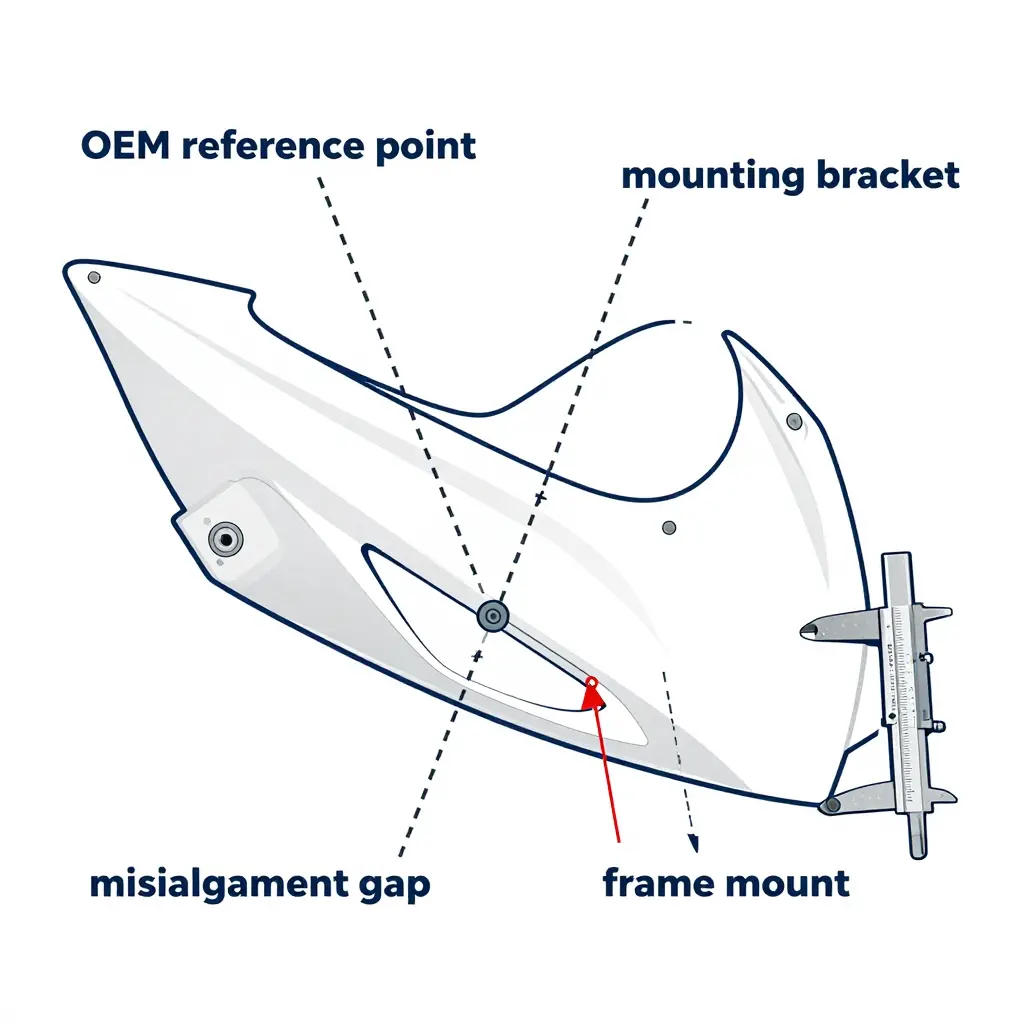
When bolt holes do not match the mounting brackets and frame mounts, fasteners will not seat by hand. Forcing them causes damage that shows up later:
- Panel stress: Pulling a fairing sideways to reach a hole bends the plastic and leaves tension in the panel that never relaxes.
- Cracking: Constant stress at the mounting tabs eventually cracks the panel, usually starting at the bolt eyelet.
- Stripped threads: Cross-threading or over-torquing to close a gap ruins bolt and clip threads, especially in soft alloy bosses.
- Longer installs: Every forced bolt makes the next one harder, turning a short job into hours of shimming and filing.
Comparing holes against OEM reference points
Treat the factory part as the baseline. Measure from a fixed datum—a frame mount, a steering-head bolt, or a known panel edge—to each hole center, then repeat the measurement on the aftermarket panel. Compare center-to-center spacing and diagonals rather than eyeballing the gap. The table below shows what to check and when to walk away.
| Checkpoint | What to measure | Red flag |
|---|---|---|
| Frame mounts | Hole-center to fixed datum | Off by more than 2-3 mm |
| Mounting brackets | Bracket-to-panel gap | Uneven gaps side to side |
| Diagonal | Opposite hole corners | Diagonals differ noticeably |
| Fastener entry | Bolt starts by hand | Needs force to begin threading |
A part that passes assembles smoothly; one that fails will stress the panel from day one. Whether you are fitting fairings or installing aftermarket truck accessories, verify the reference geometry before you commit to the build.
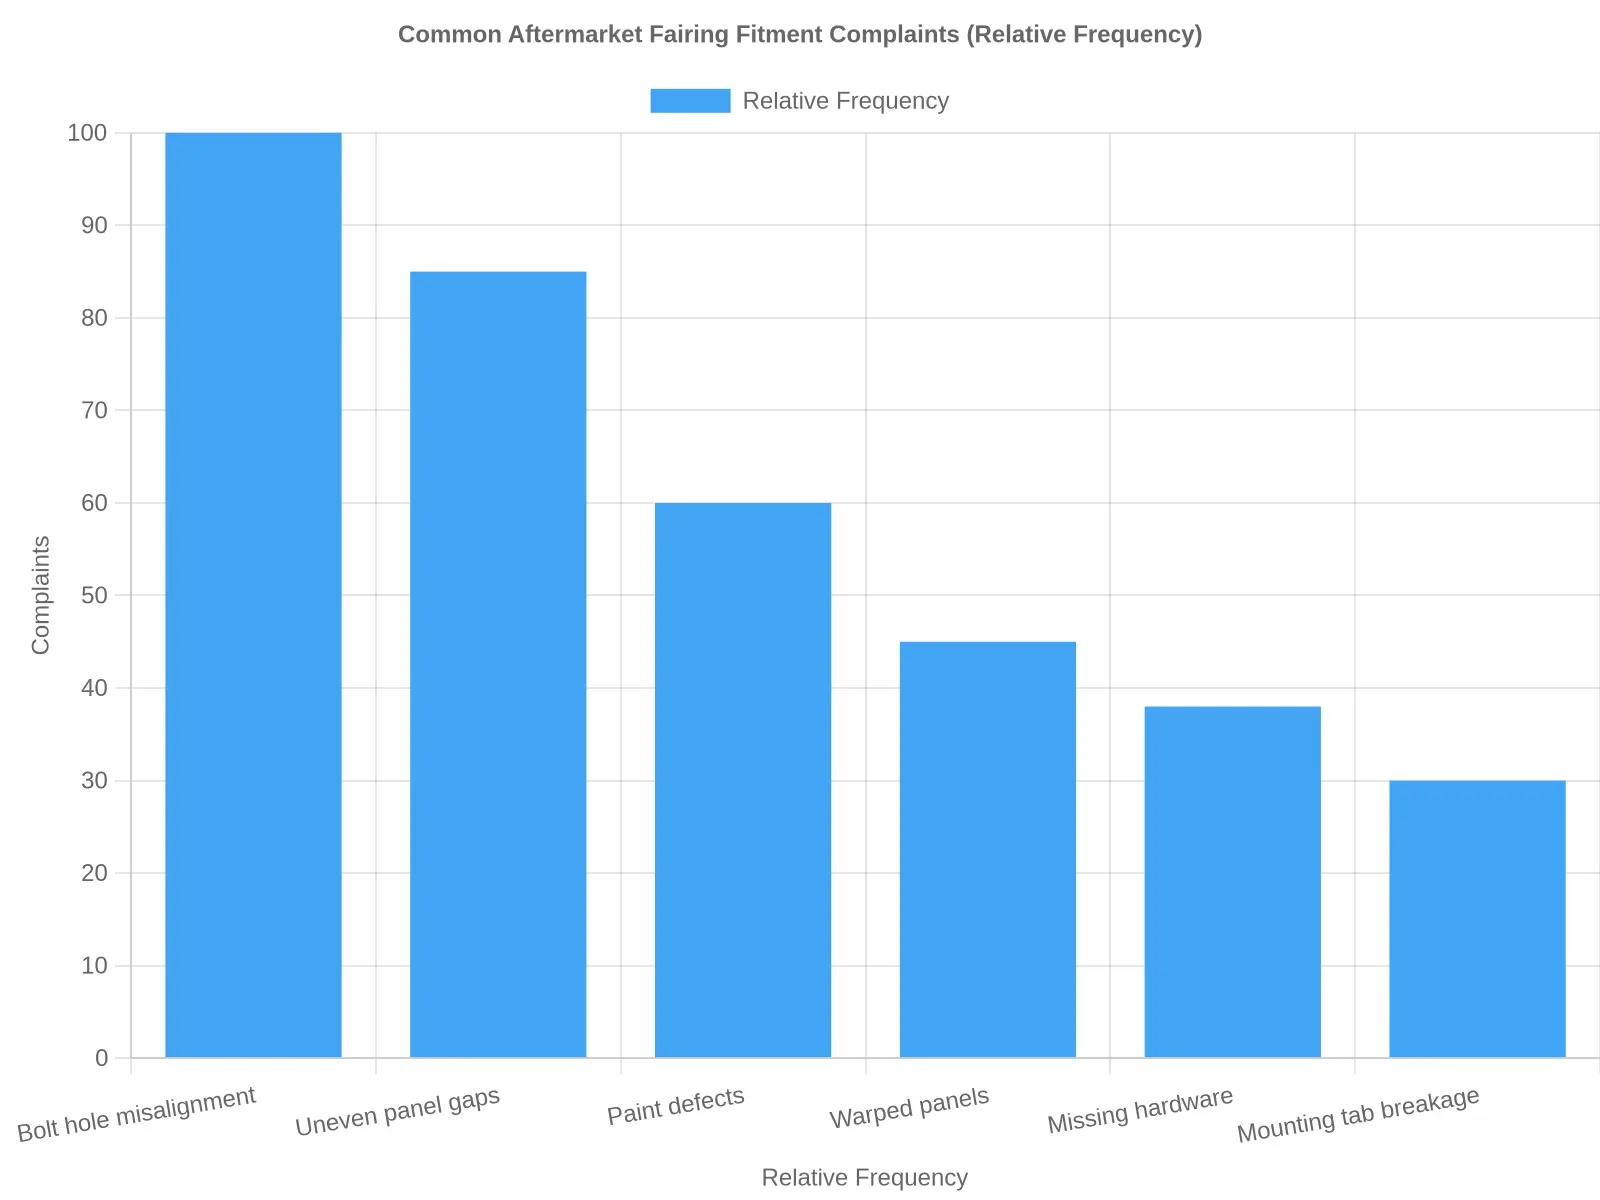
Complaints about aftermarket fairings cluster in the same places. The chart above ranks them by estimated frequency, with bolt hole misalignment first and uneven panel gaps close behind; paint defects, warped panels, missing hardware, and broken mounting tabs follow. Those first two are where a pre-order inspection pays off most.
Pre-Order Fairing Fitment Inspection Workflow
Most fitment problems can be caught before you pay, while it is still a conversation with the supplier rather than a headache bolted to the bike. The eight checks below take about twenty minutes.
-
Get dated photos of the mounting points. Ask the seller for clear photos of the tabs, brackets, and grommet locations on their kit. Compare them with your own bike’s attachment points; this is the fastest way to spot a shape that was never designed for your model.
-
Cross-check part numbers against the model year. Confirm that the OEM part numbers in the listing match your year, sub-model, and trim. A fairing that fits a 2019 model may not align on a 2021 with revised bodywork, and one mismatched digit is often the root cause of a poor fit.
-
Measure the mounting hole spacing. Take a tape measure or caliper to your own bolt holes and ask the supplier for the same measurements. Accurate bolt hole alignment depends on matching center-to-center distances, not just the overall silhouette of the panel.
-
Ask for close-up panel gap photos. Request high-resolution images showing how the fairing meets the frame, tank, and seat at the seams. Tight, even gaps suggest quality tooling; wide or uneven gaps usually mean trimming and drilling will be required.
-
Confirm that all mounting hardware is included. Check whether bolts, clips, rubber grommets, and brackets ship with the kit or must be sourced separately. Missing fasteners can stall a build for days and sometimes force you to reuse worn OEM hardware.
-
Check material thickness and flexibility. Ask what the panels are made from (ABS, fiberglass, or polypropylene) and how thick they are, then request a short video flexing a sample. Thick, slightly flexible plastic resists cracking; brittle or paper-thin panels often fail at the first stress point.
-
Verify the return and warranty policy. Read the fine print on exchanges, restocking fees, and the warranty window before ordering. A seller who offers a clear return path is usually confident in the product.
-
Ask the supplier specific fitment questions. Pose direct questions such as ‘Does this kit require trimming around the radiator shroud?’ or ‘Will it work with a stock exhaust?’ The answers reveal whether the seller actually knows the product.
Why This Workflow Saves Time and Money
Twenty minutes of measuring and photo requests can prevent weeks of sanding, filling, and re-drilling. Buyers who document measurements and photos also build a paper trail, which makes returns or warranty claims far easier if the fairing arrives warped or drilled incorrectly.
The flowchart lays out the sequence: shortlist a kit, run the inspection checkpoints, then make a go/no-go call before you click “add to cart”. The boxes are intentionally blank, so you can walk your own parts through them.
Materials and Hardware: Where Fitment Is Won or Lost
The material a fairing is molded from decides how much forgiveness you get during installation. Choose poorly, and even premium hardware cannot rescue a bad fairing fitment.
ABS Plastic: The Factory Benchmark
ABS is semi-flexible, and because it is molded rather than laid up by hand, bolt holes usually land close to OEM positions. The slight give lets panels flex into place, easing bolt hole alignment without stressing the plastic.
Fiberglass: Stiff but Unforgiving
Fiberglass is rigid and often hand-laid. Because it barely flexes, any molding error becomes obvious, showing up as stubborn panel gaps or holes that refuse to line up. Budget kits frequently need filing or redrilling.
Polypropylene: Flexible and Tough
Polypropylene flexes and resists impact, which helps bolt hole alignment on imperfect frames. Thin sections, though, can warp with heat and quietly reopen panel gaps over time.
Here is a quick comparison:
| Material | Flexibility | Fitment Behavior | Watch Out For |
|---|---|---|---|
| ABS plastic | Moderate | Holes usually near OEM | Warping in sun |
| Fiberglass | Low | Shows molding errors | Needs filing or drilling |
| Polypropylene | High | Forgives frame variance | Heat warp on thin parts |
Hardware Sets the Final Accuracy
Mounting hardware decides the rest. Stainless bolts, rubber well-nuts, and well-machined clips hold panels at the right angle and torque. Soft bolts strip easily and let panels shift, while mismatched clips rattle and open up gaps. As with other aftermarket accessories that actually fit, the hardware makes or breaks the result.
Match the material to how you ride and what you want to spend, then dry-fit with good hardware before committing to a full order.
Estimated Share of Aftermarket Fairing Materials
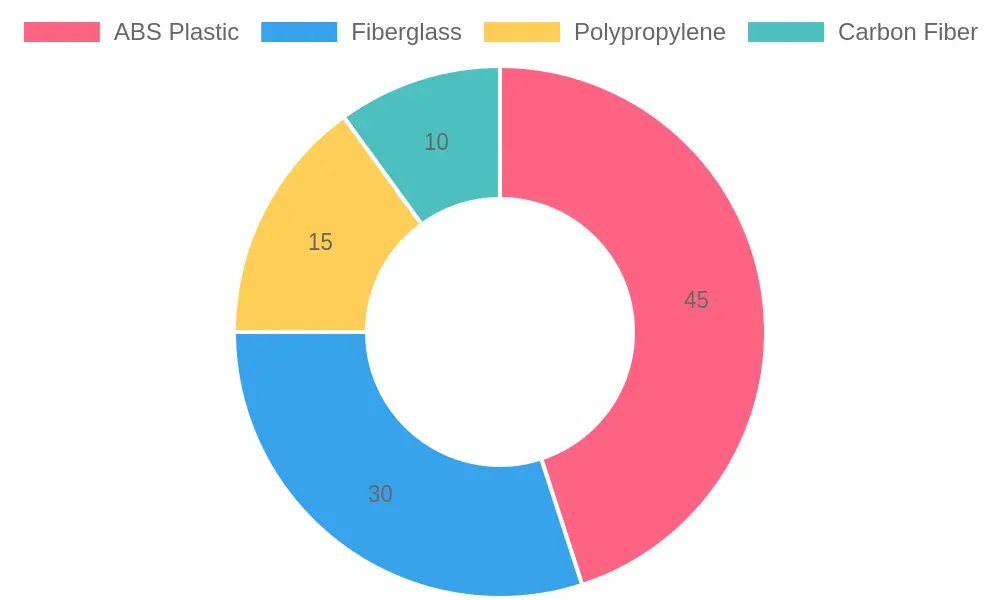
The chart below shows the estimated split of materials used in aftermarket fairings. ABS leads on cost, flexibility, and ease of molding into complex shapes; fiberglass suits riders who want a lightweight, repairable panel; polypropylene and carbon fiber cover more specialized and premium applications.
| Material | Estimated Share |
|---|---|
| ABS Plastic | 45% |
| Fiberglass | 30% |
| Polypropylene | 15% |
| Carbon Fiber | 10% |
The material tells you what to expect at test-fit time: how much the panels flex, how they respond to heat and drilling, and how much trimming you may need. Those differences show up directly in bolt hole alignment and panel gaps, so they are worth knowing before you evaluate a kit.
Frequently Asked Questions About Aftermarket Fairing Fitment
How do I check bolt hole alignment before buying a fairing set?
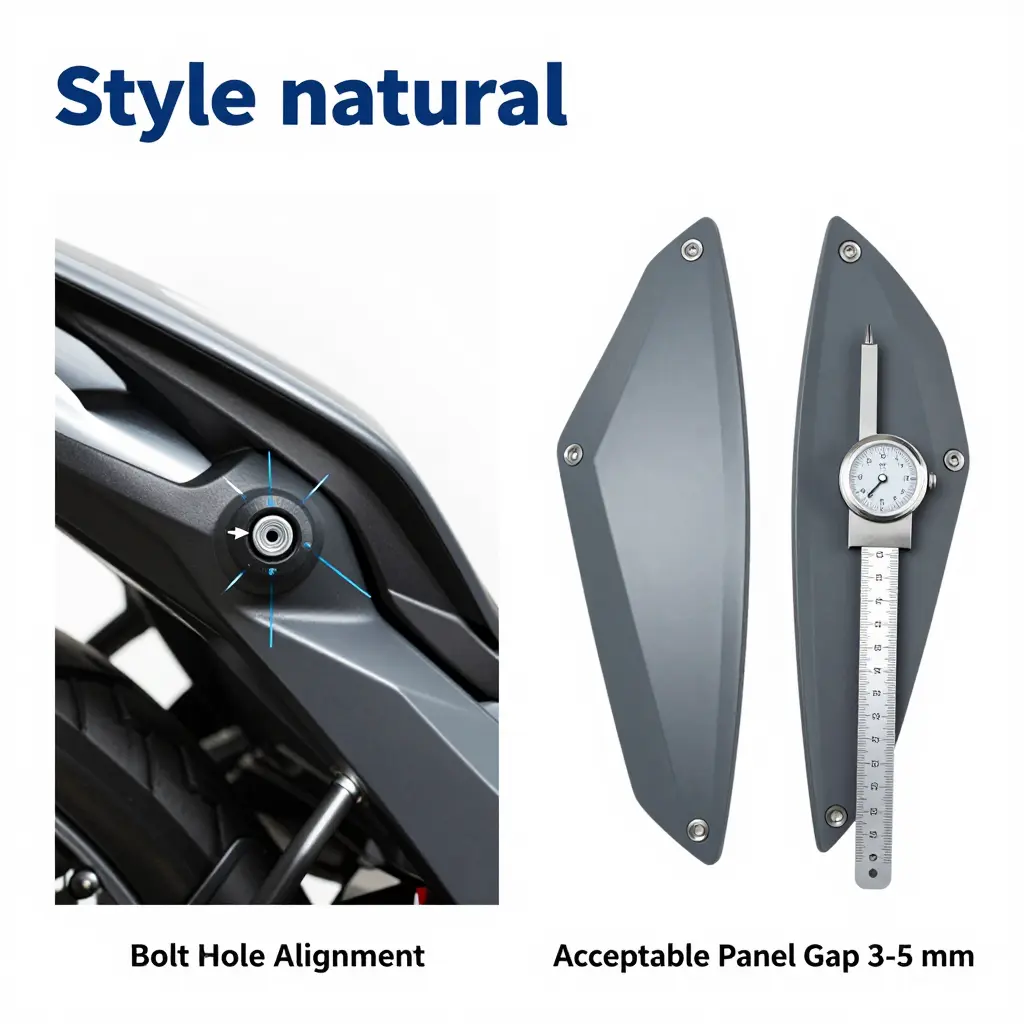
Ask the seller for close-up photos of the mounting points, or better, a short video of the fairing loosely mounted on your exact model. Compare the OEM bolt locations with the fairing’s predrilled holes and measure the distance between the front and rear mounting tabs. Holes that look stretched, oval, or roughly drilled are a red flag for poor bolt hole alignment.
What panel gap is considered acceptable?
On most sportbikes, a consistent panel gaps measurement of about 3-5 mm between adjoining pieces is normal, while anything over 8 mm usually signals a warped or poorly molded part. The important word is consistent: even gaps look factory, uneven ones do not. Use a feeler gauge or a small ruler to compare gaps on both sides of the bike.
Do aftermarket fairings fit just like OEM parts?
Sometimes, but rarely perfectly. Even high-quality aftermarket sets typically need minor persuasion, such as loosening bolts, adjusting brackets, or slightly enlarging a hole. OEM panels are molded to tighter tolerances, so expect aftermarket fairing fitment to come close to factory without matching it exactly.
How do I measure alignment accurately?
Mount everything finger-tight first, then check bolt hole alignment with the bike on a level surface before fully torquing anything. Use a tape measure or digital caliper to compare distances between mirror-image points on the left and right sides. A laser level or a straightedge laid across adjacent panels quickly reveals twist, sag, or high spots.
What should I do about minor misalignment after delivery?
Do not force it. Loosen all the fasteners, realign the panels, and tighten gradually in a crisscross pattern while checking panel gaps as you go. If a hole is off by more than a few millimeters, file it gently or shim the bracket, and send the seller photos if the defect is clearly a manufacturing issue.
How can I verify fitment from an online seller?
Look for the exact year, make, and model in the listing, and read reviews from buyers who own the same bike. Ask the seller directly whether the fairing is predrilled to OEM bolt points, and request real photos instead of stock images. A trustworthy seller answers fitment questions clearly and offers a return policy, so it pays to research quality aftermarket parts and accessories before you commit.

